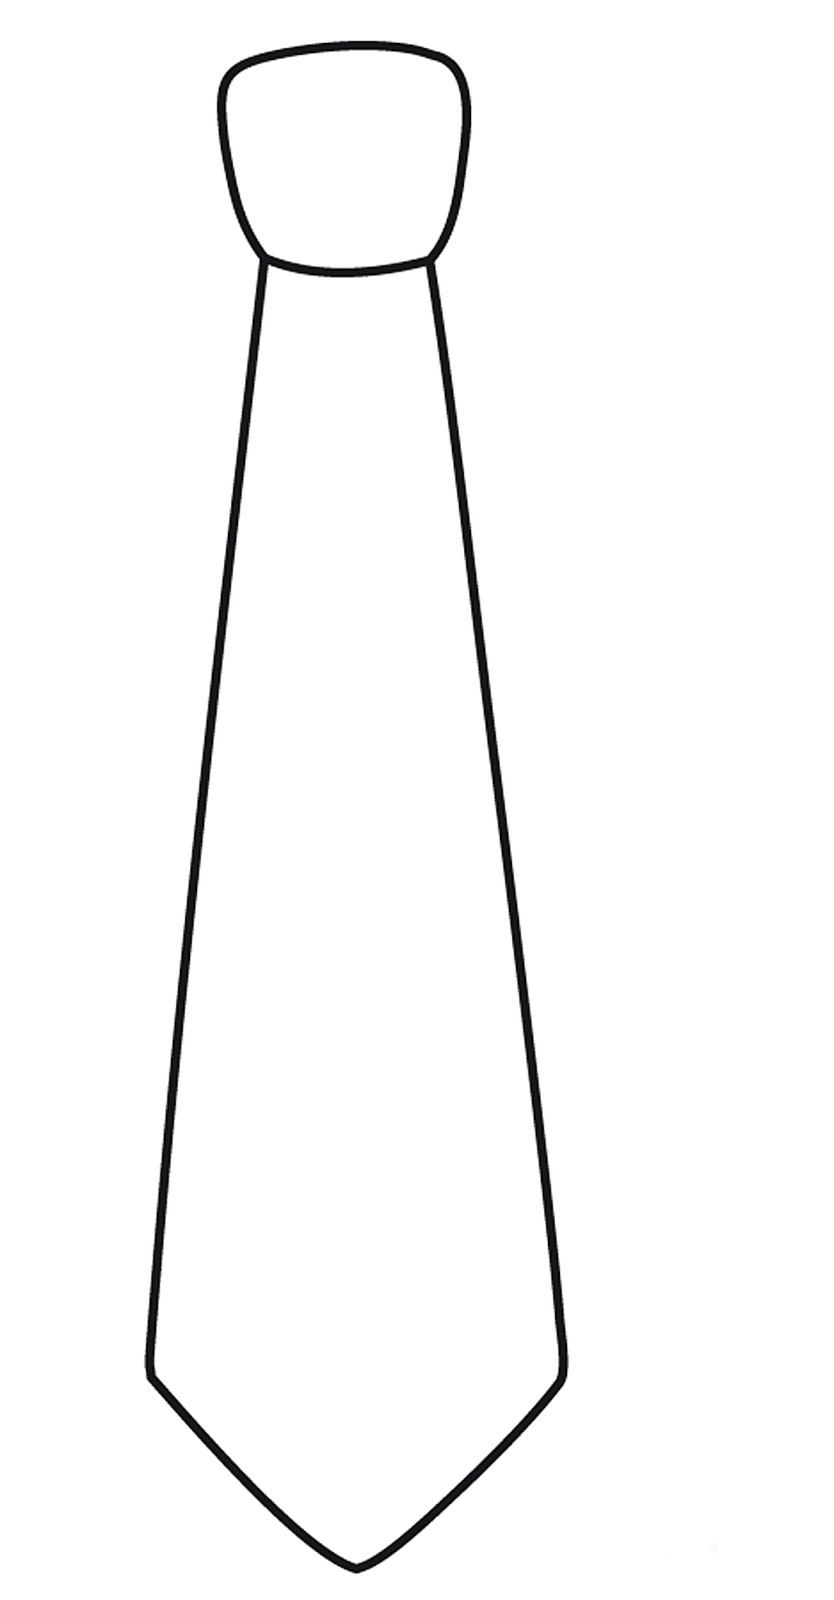
Tie Blanket Template
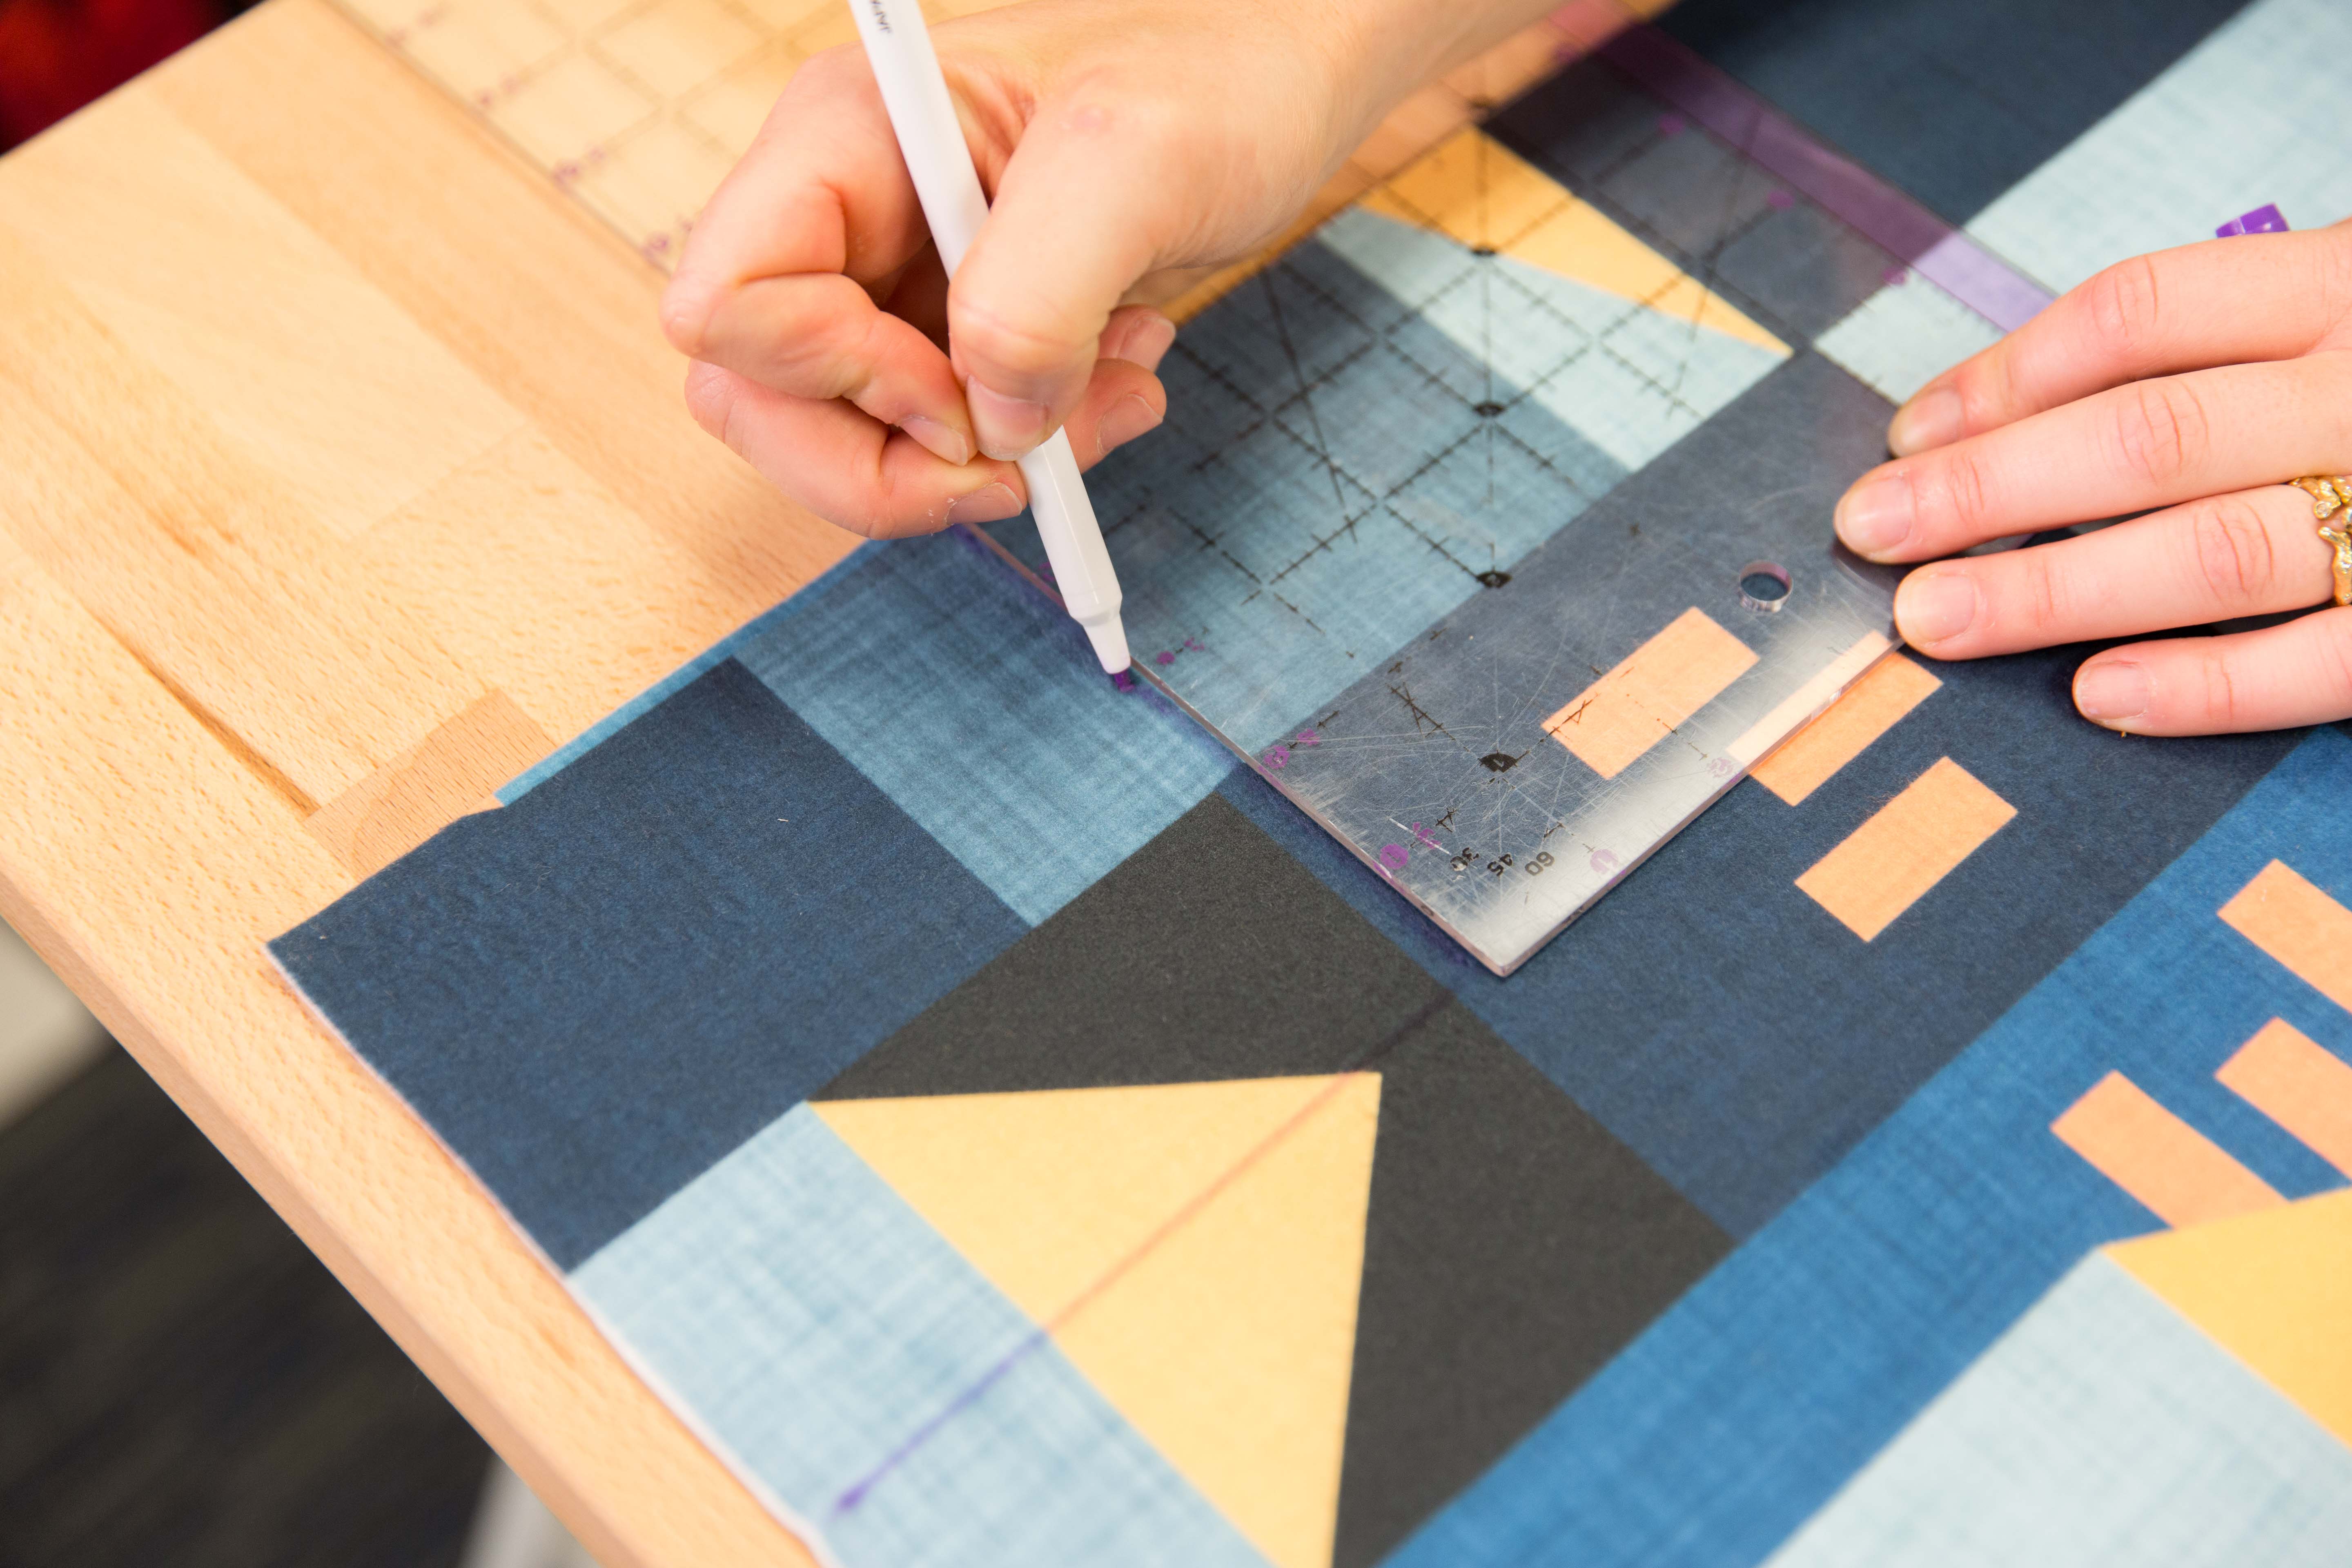
Tie Blanket Template - Use some paint sponges and make a polka dot tie. Web browse 424 tie blanket photos and images available, or search for fleece tie blanket to find more great photos and pictures. Take the two layers of fringe and tie them together in a knot. Cut five inch slits, every one inch, to make a 1 x 5 inch fringe around the entire edge of the fleece blanket. It makes a wonderful handmade gift. Align them the best you can. Measure and cut the blanket corners. You can also mark out a straight line with masking tape. Make sure to cut out the black lines to. Obviously, you want both the right sides showing on both sides of your blanket. Web 230 78 featured download here are the steps in making a very simple fleece blanket with tied ends. The fleece blanket has so many uses. For a braided edge, only cut your strips 2 inches (5.1 cm) deep. Web cut a 5 x 5 inch square out of each corner. This tie blanket (patchwork style) or no sew rag. This tie blanket (patchwork style) or no sew rag quilt is a fun activity for. The first thing you will want to do is to lay the two pieces of fabric together, with the wrong sides together. Use the long side (without the tines) to cut off the fabric selvedges. Then use the handy block cutting line to cut out. Now that we have a pile of no sew tie quilt squares ready to go it’s time to. The fleece blanket has so many uses. (18cmx21cm) it has everything you need to make fleece tie blanket quickly. Align them the best you can. Use some paint sponges and make a polka dot tie. Using an 8.5×11 cardstock cut two slits at the top of the paper about 1.5 inches down. Web 1,148 sales | in 5 carts fleece tie blanket acrylic pattern template | blanket ruler | no sew blanket kit ruler $24.99 add to cart star seller. Web learn how to make a no sew fleece tie blanket with this ultimate diy. Web learnhow to make a no sew fleece tie quilt (free template) with this free step by step tutorial, template and svg file! You won’t be able to notice after. You can also mark out a straight line with masking tape. For the edges, fold the trim diagonally and sew. Web browse 424 tie blanket photos and images available, or. 2 pieces of fleece fabric in coordinating colors, 1.5 yards each for a child size blanket, 2 yards each for a teen/adult blanket ruler sharp scissors or a rotary cutter and cutting mat what kind of fleece should i. For the edges, fold the trim diagonally and sew. When you purchase fleece by the yard, it almost always needs to. Web instructions cutting the materials. Place your two fleece fabrics on the floor and line them up together the best you can. Web browse 424 tie blanket photos and images available, or search for fleece tie blanket to find more great photos and pictures. It also is favorite among charities and hospitals. For a braided edge, only cut your strips. It also is favorite among charities and hospitals. Measure and cut the blanket corners. So hit the craft store, pick up some super soft fleece and let's get started making a blanket now! Don’t worry if you find that some strips are a bit wider or narrower than the rest. See more ideas about tie blankets, sewing fleece, no sew. Obviously, you want both the right sides showing on both sides of your blanket. For the edges, fold the trim diagonally and sew. Place some masking tape diagonally along the ties and then paint in between to make an easy striped tie. Now that we have a pile of no sew tie quilt squares ready to go it’s time to.. When you purchase fleece by the yard, it almost always needs to be trimmed and straightened. Tie blankets are easy to make, can be inexpensive and are a soft, warm bit of comfort to the. Web for a tied fleece blanket, you only need three things: Web learnhow to make a no sew fleece tie quilt (free template) with this. Place some masking tape diagonally along the ties and then paint in between to make an easy striped tie. (18cmx21cm) it has everything you need to make fleece tie blanket quickly. Measure a square at each corner that is the same length as what you want the fringe. The knots on this method turn out nice and tidy. Print up and assemble the template. Web it is simple, quick, and requires no sewing which can easily be done in less than an hour. Web cut a 5 x 5 inch square out of each corner. Web for a tied fleece blanket, you only need three things: Use the long side (without the tines) to cut off the fabric selvedges. Don’t worry if you find that some strips are a bit wider or narrower than the rest. This tie blanket (patchwork style) or no sew rag quilt is a fun activity for. The fleece blanket has so many uses. You won’t be able to notice after. Measure and cut the blanket corners. So hit the craft store, pick up some super soft fleece and let's get started making a blanket now! Web instructions cutting the materials. When you purchase fleece by the yard, it almost always needs to be trimmed and straightened. Web learnhow to make a no sew fleece tie quilt (free template) with this free step by step tutorial, template and svg file! Now to make your shirt. Web 230 78 featured download here are the steps in making a very simple fleece blanket with tied ends. Tie blankets are easy to make, can be inexpensive and are a soft, warm bit of comfort to the. Don’t worry if you find that some strips are a bit wider or narrower than the rest. For the edges, fold the trim diagonally and sew. I like to use a yardstick to mark out my cuts and keep them straight. Web fleece tie blanket instructions. Web learnhow to make a no sew fleece tie quilt (free template) with this free step by step tutorial, template and svg file! You won’t be able to notice after. Web this handy acrylic template is 7 inches by 8.32. You can also mark out a straight line with masking tape. Measure a square at each corner that is the same length as what you want the fringe. For a braided edge, only cut your strips 2 inches (5.1 cm) deep. Web for a tied fleece blanket, you only need three things: Web learn how to make a no sew fleece tie blanket with this ultimate diy guide. Using an 8.5×11 cardstock cut two slits at the top of the paper about 1.5 inches down. This tie blanket (patchwork style) or no sew rag quilt is a fun activity for. The first thing you will want to do is to lay the two pieces of fabric together, with the wrong sides together.
fleece tie blanket instructions with pictures Step 6 Tell your

How to Make a Tie Blanket DIY Ready
Manke It Yourself! Tie Banner

No sew blankets, Sewing christmas gifts, Fleece crafts
Tie Blanket Tutorial and Patterns

1000+ images about Tie Blankets on Pinterest

Fleece Tie Blanket Pattern Catalog of Patterns

Pin by Katelyn Bischoff on DIY Tie blankets, Selvage, Fabric
Tie Blanket Tutorial and Patterns

Paper Tie Templates for Kids
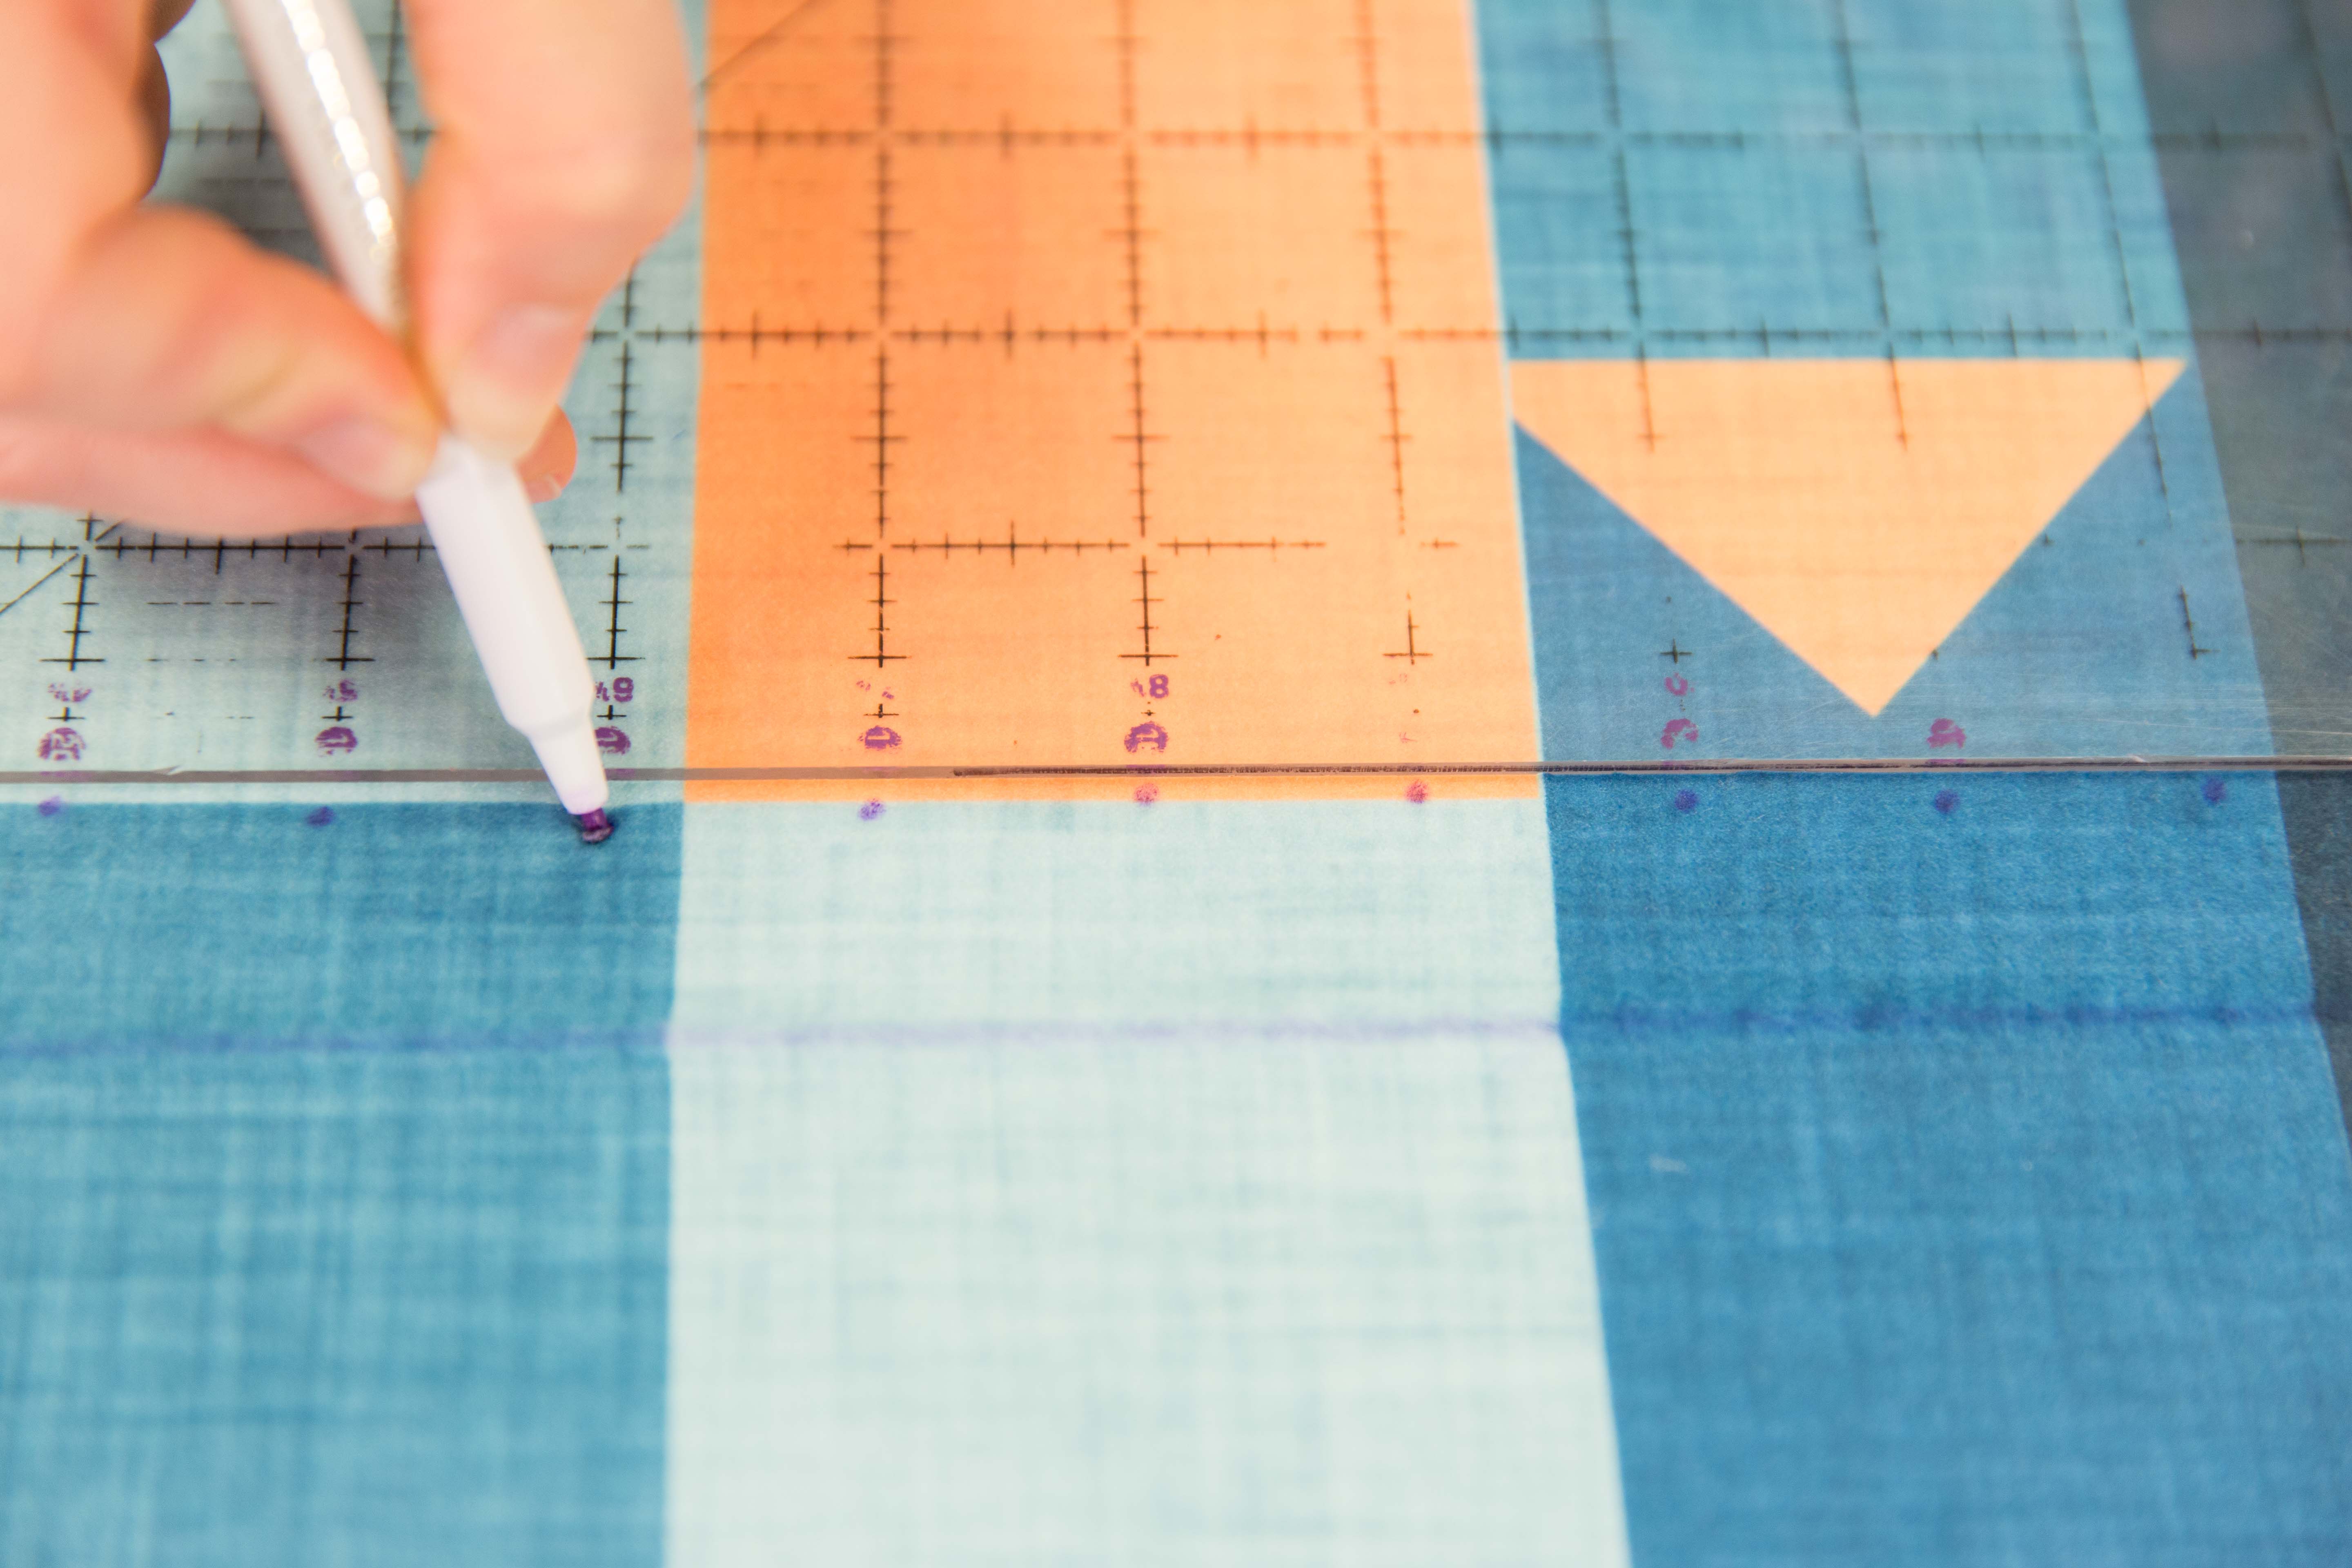
Use The Long Side (Without The Tines) To Cut Off The Fabric Selvedges.
Here’s A Video Showing An Example Of A Tie Blanket Alternative.
2 Pieces Of Fleece Fabric In Coordinating Colors, 1.5 Yards Each For A Child Size Blanket, 2 Yards Each For A Teen/Adult Blanket Ruler Sharp Scissors Or A Rotary Cutter And Cutting Mat What Kind Of Fleece Should I.
Web 1,148 Sales | In 5 Carts Fleece Tie Blanket Acrylic Pattern Template | Blanket Ruler | No Sew Blanket Kit Ruler $24.99 Add To Cart Star Seller.
Related Post: