Pete The Cat Ears Template
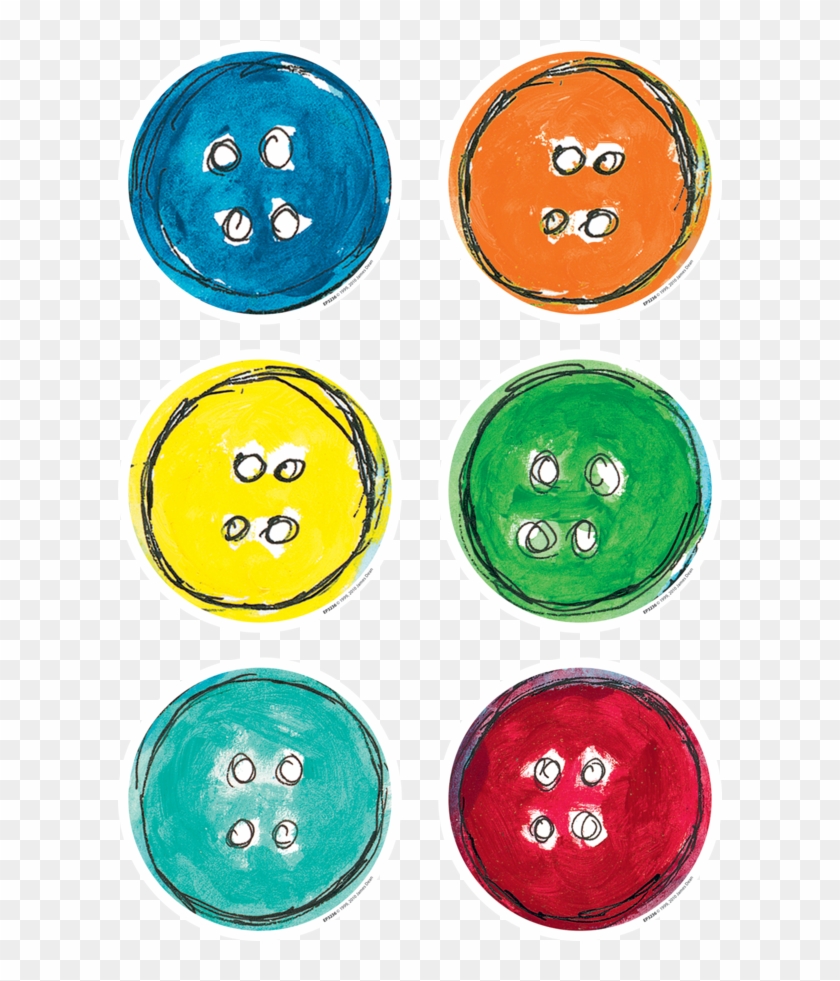
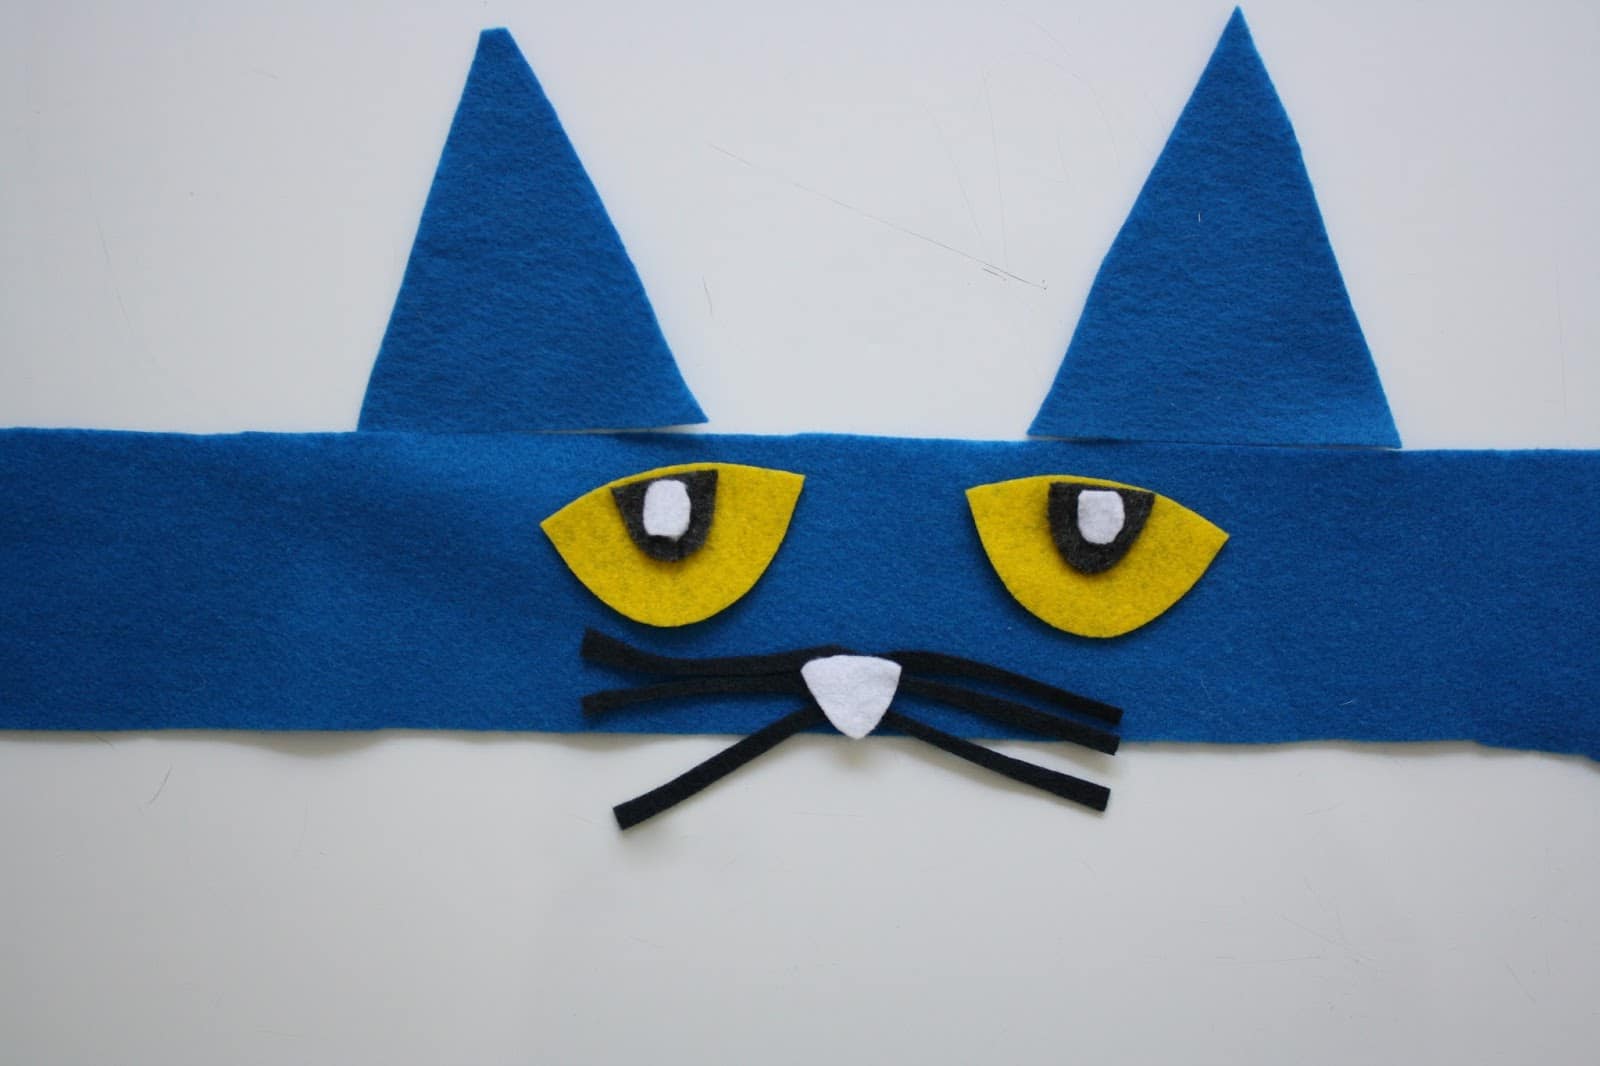
Pete The Cat Ears Template - Web preschoolers, kindergarten students, and even older kids know pete the cat absolutely love his stories, songs, and more. We do more with less. But it can be a challenge to find time when our kids are running here and there. Web instructions download the pete the cat template, print and cut out the pieces. Web check out our cat ears printable selection for the very best in unique or custom, handmade pieces from our shops. Assemble pete's eyes by gluing the black part onto the large yellow eye. Afterwards, place the cat’s facial features on. Glue the blue cat face to the top flap of the brown paper bag. Simply cut a strip of paper, tape it into a band, and attach the ears! Web to make this pete with a pilgrim hat and buckle, you'll print a face, eyes, nose, ears, hat, buckle and strap. “button counting grid” by life over c’s 5. Simply cut a strip of paper, tape it into a band, and attach the ears! Web check out our pete the cat ears selection for the very best in unique or custom, handmade pieces from our shops. We do more with less. Place pete's ears behind the bag and glue in place. You want to make sure you have excess felt on the bottom of your cat ears so you that you can wrap it around the headband and glue it together. Then, roll the batting into a tail. Fill in the blank pete the cat and the new guy: Glue the blue cat face to the top flap of the brown. Next, measure around the child (or adults) head. Web check out our cat ears printable selection for the very best in unique or custom, handmade pieces from our shops. Take the completed eyeballs and glue them in the center of the headband base. So, we’ve come up with a way to help you remove the barriers to creating with your. Next, sew the sides of the tail with a straight stitch. Then, trace it onto your blue felt. So, we’ve come up with a way to help you remove the barriers to creating with your kids. Web to make this pete with a pilgrim hat and buckle, you'll print a face, eyes, nose, ears, hat, buckle and strap. Become pete. Glue the black part of the eye almost to the innermost corner of each eyeball. Web these brightly colored cat ears are perfect for alice in wonderland role play. “color the shoes” by pre kinders 2. Add writing paper below to make it a craftivity display with writing. Grab some construction paper and model how to make a pete the. Place pete's ears behind the bag and glue in place. Web preschoolers, kindergarten students, and even older kids know pete the cat absolutely love his stories, songs, and more. You can either print on colored construction paper and end up with a pete that looks like this: Web check out our pete the cat ears selection for the very best. But it can be a challenge to find time when our kids are running here and there. Web instructions download the pete the cat template, print and cut out the pieces. Simply cut a strip of paper, tape it into a band, and attach the ears! Web preschoolers, kindergarten students, and even older kids know pete the cat absolutely love. Web check out our pete the cat ears selection for the very best in unique or custom, handmade pieces from our shops. Web place the three colored buttons down the middle of the shirt. These templates are perfect for literacy character dress up days, halloween costumes and much more! Glue the black part of the eye almost to the innermost. You want to make sure you have excess felt on the bottom of your cat ears so you that you can wrap it around the headband and glue it together. Web check out our cat ears printable selection for the very best in unique or custom, handmade pieces from our shops. “color the shoes” by pre kinders 2. Please let. Use the black marker to draw the four holes on the button. So, we’ve come up with a way to help you remove the barriers to creating with your kids. Read it or download it to your device. Print the number of each piece that you'll need for your class. You want to make sure you have excess felt on. Please let us know if the video is no longer working. Print and cut out your template. Place pete's ears behind the bag and glue in place. Draw your hiding spot seek the words potty train with pete the kitty pete the cat and the new guy: First, cut the pieces out of felt. You can either print on colored construction paper and end up with a pete that looks like this: “color the shoes” by pre kinders 2. Glue the black part of the eye almost to the innermost corner of each eyeball. Web check out our pete the cat ears selection for the very best in unique or custom, handmade pieces from our shops. Web using your blue felt, your headband, fabric glue, and cat ear template, now you need to create your headband. Take the completed eyeballs and glue them in the center of the headband base. Next, sew the sides of the tail with a straight stitch. Add writing paper below to make it a craftivity display with writing. Web instructions download the pete the cat template, print and cut out the pieces. Then, trace it onto your blue felt. Glue the white part of the eye in the center of the black part. Web to make this pete with a pilgrim hat and buckle, you'll print a face, eyes, nose, ears, hat, buckle and strap. Web preschoolers, kindergarten students, and even older kids know pete the cat absolutely love his stories, songs, and more. But it can be a challenge to find time when our kids are running here and there. “class books” by growing book by book 4. We do more with less. Web check out our pete the cat ears selection for the very best in unique or custom, handmade pieces from our shops. Place pete's ears behind the bag and glue in place. Please let us know if the video is no longer working. Then, roll the batting into a tail. Web instructions download the pete the cat template, print and cut out the pieces. Become pete the cat!*please check all printer settings, size adjusting may need to take place. Assemble pete's eyes by gluing the black part onto the large yellow eye. Then, straight stitch in like colors around the eyes, nose, ears, and whiskers. Print and cut out your template. Add writing paper below to make it a craftivity display with writing. Web preschoolers, kindergarten students, and even older kids know pete the cat absolutely love his stories, songs, and more. Web these brightly colored cat ears are perfect for alice in wonderland role play. Web white yarn pete the cat printable template we truly believe in the benefits of crafting with your kids. Then, trace it onto your blue felt. Next, sew the sides of the tail with a straight stitch.
Pete the Cat Template Simple Template Design

Pete The Cat Headband

Book Review Pete the Cat and His Magic Sunglasses Kids VT Blog
Cat Face Template Cliparts.co
Tcr63236 Pete The Cat Groovy Buttons Accents Image Pete The Cat
Pete The Cat Ears Printable

Pete The Cat Ears Printable
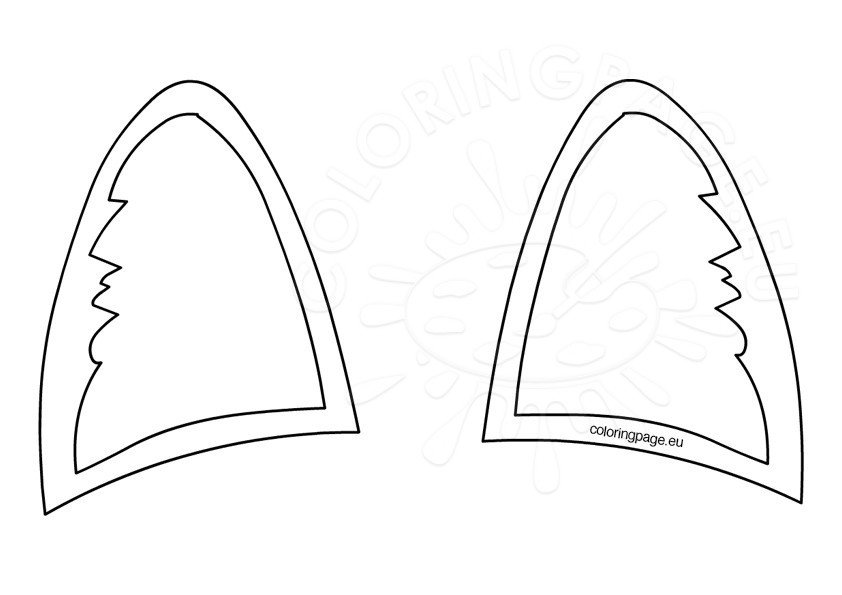
Cat ears template Coloring Page

Pete the Cat Template Simple Template Design

Pete the Cat Template Pete the cat, Cat template, Cat activity
You Can Either Print On Colored Construction Paper And End Up With A Pete That Looks Like This:
Web Using Your Blue Felt, Your Headband, Fabric Glue, And Cat Ear Template, Now You Need To Create Your Headband.
Next, Measure Around The Child (Or Adults) Head.
“Class Books” By Growing Book By Book 4.
Related Post: